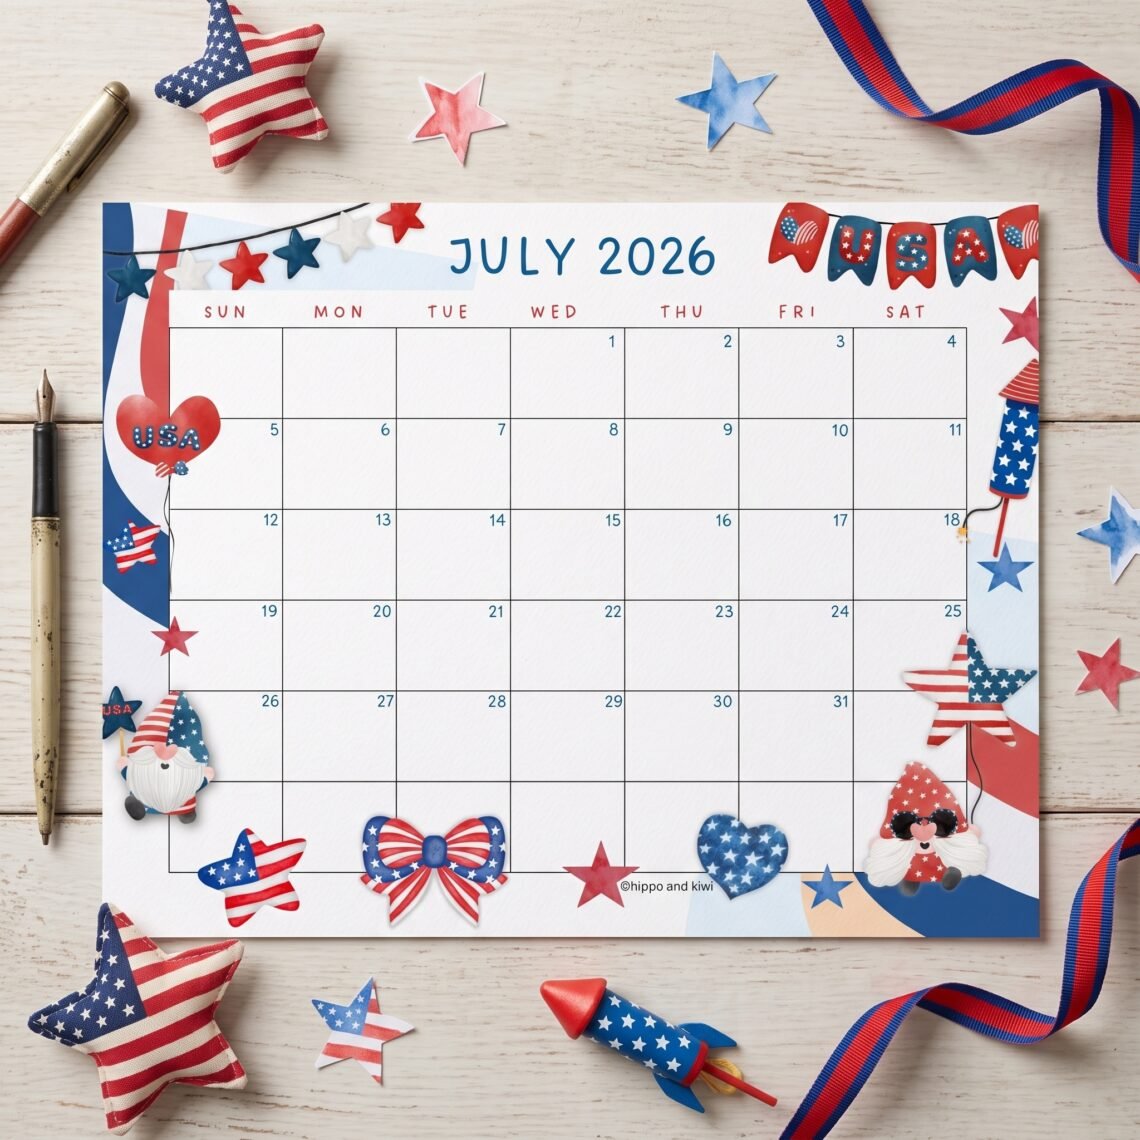
Freebies: Printable Mother’s Day Cake and Cupcake toppers

Freebies: Printable Mother’s Day Cake and Cupcake toppers

Celebrate Mother’s Day with a Free Printable Cake Topper: Step-by-Step Guide and Decorating Tips


Mother’s Day is a time to show appreciation for the incredible mothers in our lives. What better way to celebrate than with a beautifully decorated cake and a little party for mom at home? In this blog post, we’ll talk about how to make mom’s day special right at home and I’ll guide you through creating a stunning cake topper using a free printable design. Let’s make this Mother’s Day extra special!


Here are some ideas for Mother’s Day:


1. Order from her favorite restaurant.  You’ll give Mom her favorite food and help out your local business.

2. The kids can make mom a simple cake or cupcakes (We use a cake mix. The easiest way to make cake ever!). Decorate them with these lovely cake and cupcake toppers I designed just for you! You can download them at the bottom of the post.

3. Got some Rice Krispy? Make her these cute heart-shaped Rice Krispy treats instead of cupcakes. You can still stick your free cupcake toppers on them.


The party is never complete without a banner. Print out the matching Happy Mother’s Day banner and hang it on your mantel or above the cake.

4. Have the kids make mom a nice handmade gift, like this bowl that she can put her jewels in. Or this suncatcher Mother’s Day card.

3. Pamper her with some lovely gift sets. I’m hinting to my husband to get me this gift set or this care package that includes an adorable tumbler.  If these don’t get there on time. Your local drug store such as Walgreen or CVS might have some cute gift sets. If you’re worried about going to the store ask if they offer deliveries of those items along with essentials.

4. Make a beautiful Mother’s Day gift set yourself. Buy some of her favorite makeup or nail polish. Add in her favorite snacks that she can’t normally eat in front of the kids and a card. She’ll love you for it.

5. If mom loves flowers, you can still get them at your local grocery store as well as home improvement stores, such as Home Depot. My husband got me some peonies from Home Depot and planted them for me in our garden. He’s awfully sweet that husband of mine!

6. The best gift you can give Mom during this time of quarantine is a clean house and maybe 2 hours of quiet time after you eat the homemade Mother’s Day cake.

There you have it. Some very simple ways to give mom her best Mother’s Day yet! Set up the house for a party with banners, cake, and cupcakes. Gift her with her care package and some love this Mother’s Day!


Download your Mother’s Day cake and cupcake toppers and banner here.


Let’s Make Our Cake Topper

What You Will Need: Before we dive into the process, let’s gather the materials needed for this project:

  • Free printable cake topper template (link provided below)
  • Printer
  • High-quality paper or cardstock
  • Scissors or craft knife
  • Optional: Colored markers, glitter, adhesive gems

    Downloading and Printing the Cake Topper:

    1. Save the file to your computer and open it using a PDF reader.
    2. Load your printer with the chosen high-quality paper or cardstock.
    3. Print the cake topper template, ensuring the printer settings are set to “Actual Size” for accurate dimensions.
    4. Once printed, allow the ink to dry completely before moving on to the next step.

    Cutting and Preparing the Cake Topper:

    1. Carefully cut out the cake topper along the designated lines using sharp scissors or a craft knife.
    2. Take your time to achieve clean and precise cuts.
    3. If you have a cutting machine, you can use it as an alternative method for cutting out the topper.

    Decorating the Cake Topper:

    1. Now comes the fun part—decorating your cake topper!
    2. Use colored markers to add vibrant hues and personalize the design.
    3. Consider adding a touch of sparkle by applying glitter to specific areas.
    4. If you have adhesive gems, place them strategically to enhance the topper’s visual appeal.
    5. Let your creativity flow and make it uniquely beautiful!

    Placing the Topper on the Cake:

    1. Once you’re satisfied with the decoration, it’s time to place the topper on the cake.
    2. Carefully insert toothpicks or small skewers into the bottom of the topper to create support.
    3. Gently position the topper on the cake, taking into account the size and stability of the cake.
    4. If needed, adjust the positioning for the best visual effect.
    5. Remember to remove the topper before serving the cake.


Creating a memorable Mother’s Day celebration doesn’t have to be complicated or expensive. By using our free printable cake topper template, you can easily add a touch of elegance and personalization to your Mother’s Day cake. Enjoy the process of crafting this special decoration, and most importantly, cherish the time spent honoring and appreciating the amazing mothers in your life. Happy Mother’s Day!

shabby mint chic party - printables for your party and home


Happy Easter Banner: Add Some Festive Flair to Your Celebrations!

Happy Easter Banner: Add Some Festive Flair to Your Celebrations!

Easter is just around the corner, and what better way to celebrate than with a Happy Easter banner! Whether you’re hosting an Easter party, decorating your home, or just looking to add some festive flair to your celebrations, a Happy Easter banner is the perfect addition.

This banner comes in two different font styles, giving you the flexibility to choose the one that best suits your aesthetic. Additionally, the banner comes in two sizes, so you can choose the size that works best for your space.

Happy Easter Banner free printable

Benefits of a Printable Banner

One of the great things about this Happy Easter banner is that it’s printable. This means that you can easily print it out from the comfort of your own home, and there’s no need to worry about waiting for shipping or going to the store to purchase it.

Furthermore, a printable banner is a cost-effective way to decorate for Easter. Printing it out yourself can save money compared to purchasing a pre-made banner from a store.

Where to Put the Banner

The Happy Easter banner is versatile and can be used in a variety of settings. Some great places to put the banner include:

  • On a mantle: The banner looks great, draped across a fireplace mantle. It adds a pop of color and festivity to your living room.
  • On a wall: Hang the banner on a blank wall to add some color and Easter cheer to your space.
  • On a dessert table: If you’re hosting an Easter party, the banner would look great hanging above a dessert table. It adds some fun and whimsy to the space.

Click here to get access to my free 100+ printables for your everyday celebration and home.

Supplies Needed

To make the Happy Easter banner, you’ll need a few supplies:

  • The Happy Easter Banner
  • A printer
  • Cardstock paper
  • Scissors or a paper cutter
  • String or ribbon
  • Pom-poms, ribbons (optional)
Happy  Easter Banner free printable

More Easter/Spring Printables

free printable happy Easter folded card
Spring Easter Bunny freebie printable wall art
spring bingo game printable

Instructions

  1. Download the printable Happy Easter banner from the link at the end of this post.
  2. Save the printable onto your computer.
  3. Open the file and select pages with the banner in your preferred font style and size.
  4. Print the banner onto cardstock paper. You can print it at home or take it to a print shop if you prefer.
  5. Cut out the individual banner pieces using scissors or a paper cutter.
  6. Punch holes in the top corners of each banner piece.
  7. Thread string or ribbon through the holes to connect the banner pieces together.
  8. Add some ribbons, pom-poms, or other decorative accessories to your banner.
  9. Hang the banner up in your desired location.

Hop into Easter with a Banner!

A Happy Easter banner is a fun and easy way to add festivity to your Easter celebrations. With its two font styles and multiple sizes, this banner is versatile and can be used in a variety of settings. And since it’s printable, it’s an affordable and convenient way to decorate for Easter. So why not add a Happy Easter banner to your decorations this year?

Download your Happy Easter Banner

Happy Easter!

Cute Bunny Printable Wall Art for Spring Decor

Cute Bunny Printable Wall Art for Spring Decor

Add a Festive Touch to your Home Decor

Spring has arrived, and what better way to celebrate than with fresh new decor for your home or workspace?

I’m happy to announce my new free printable wall art featuring a watercolor cute bunny surrounded by colorful flowers and balloons. The bunny is wearing a fun party hat, and the message is perfect to get you in the springtime spirit.

Spring is a time of renewal and rebirth, and what better way to celebrate than by refreshing your home decor? Whether you’re looking to add a touch of color, whimsy, or personality to your space, wall art is an easy and affordable way. You can create a truly personal and inviting space by choosing pieces that reflect your interests and tastes.

Benefits of Using Wall Art

Decorating your home with wall art can have many benefits beyond just making your space look beautiful.

By adding art to your walls, you can:

  • Create a focal point: Wall art can help draw the eye to certain areas of the room and create a focal point that anchors the space.
  • Add depth and dimension: By playing with scale, color, and texture, you can create a sense of depth and dimension in your home decor.
  • Express your personality: The art you choose for your walls can be a reflection of your interests, passions, and personality.
  • Create a cohesive look: By choosing pieces that work together, you can create a cohesive and polished look in your home that ties everything together.
  • Easily update your decor: Wall art is an easy and affordable way to update your decor without committing to major changes like furniture or paint.

Features of Bunny Printable Wall Art

This free printable wall art design combines the cuteness of a watercolor bunny with the celebratory spirit of a party hat and balloons. The bunny is surrounded by colorful flowers and balloons, with the quote, “It’s Spring!, Let’s Party!”

Its cute and whimsical design is a great way to add a playful touch to your space. And because it’s a printable, you can easily change the frame or matting to suit your style.

Different Ways to Use the Cute Bunny Printable Wall Art

The bunny wall art isn’t limited to framing and hanging on our walls. Here are a few different ways you can use it:

  • In a nursery: The bunny wall art would be perfect for a nursery or child’s room. It’s playful and fun, and the bright colors are sure to appeal to little ones. You can stick it on the wall with washi tapes for more playfulness.
  • As a greeting card or party invitation: You can resize the bunny wall art to make your own personalized greeting cards or party invitations. Simply print the image on cardstock, trim it down to size, and add your own message.
  • For Easter celebrations: The bunny wall art is also perfect for Easter celebrations. Whether you’re hosting an Easter brunch or just looking to add some holiday cheer to your home, the bunny wall art is a great way to do it. You can also use this as cute little Easter placemats on your table. Upload these onto Canva and add guests’ names. Attach it to a stick and add it to a vase with spring flowers for a nice centerpiece to your Easter table.

How to Download and Print the Free Bunny Wall Art

Supplies:

  • A printer (either inkjet or laser)
  • Printer paper or cardstock (depending on your preference)
  • Scissors or a paper trimmer
  • Optional: a frame or matting material if you plan on framing the print

Instructions:

  1. First, download the free printable bunny wall art by clicking on the button below these instructions.
  2. Once you have the file downloaded, open it up on your computer and select the print option.
  3. Make sure your printer is loaded with the appropriate paper or cardstock you want to use for your print.
  4. Adjust your printer settings if necessary to ensure the print comes out the way you want it to.
  5. Hit the print button and wait for your print to finish.
  6. Once the print is finished, cut it to the appropriate size with scissors or a paper trimmer.
  7. If you plan on framing the print, you can use a frame or matting material to display it in your home.

With these simple instructions and a few basic supplies, you can easily download and print your cute bunny wall art to add a touch of springtime to your home decor. Whether you decide to use it in a nursery, turn it into a greeting card, or display it as a party invitation, this versatile printable is sure to bring a smile to your face and brighten up any room.

PLEASE SHARE THIS FREE PRINTABLE

If you love this free cute bunny printable wall art, please share or save it to your Pinterest board with one of the images below.

free spring/easter printable wall art download at shabby mint chic party dot com, watercolor bunny holding balloons wearing a party hat, surrounded by flowers.

Happy Spring! And go out. Dance. Sing. And let’s PARTY!

Planning a Last-Minute Kids’ Party

Planning a Last-Minute Kids’ Party

Last-minute kids’ party planning can be daunting, but with a little creativity and some helpful hacks, you can still throw a fantastic party for your child. Whether you’ve just realized your child’s birthday is coming up soon or you didn’t have time to plan ahead, don’t panic. We’ve covered you with great tips and tricks to help you plan a last-minute kids’ party without breaking a sweat. From quick decorations to easy activities, these hacks will save your sanity and ensure your child has a memorable celebration. So, let’s dive in and get started on planning a stress-free party that your child will love!

last-minute kids' party hacks
Photo by Antoni Shkraba

Keep your Last-Minute Kids’ Party simple

When planning a last-minute party, it’s important to keep things simple. Don’t try to plan an elaborate event with too many activities and decorations. Stick to a simple theme, and focus on the essentials, such as food, drinks, and easy setup manageable activities.

Choose a venue

Consider renting a party venue if you don’t have time to decorate your home or yard. Many venues offer packages that include decorations, food, and activities. This can save you time and stress and ensure your child has a great party.

Online invitations

Save time and money by using online invitations. There are many websites and apps that offer free, customizable invitations that you can send out quickly. Plus, you can track RSVPs and send reminders to guests. You can also design your own invitations using free online apps like Canva. Check out my shop for more printable invitations.

Free Panda Invitation Template

If you’re planning a panda-themed party for your child, you won’t want to miss this free panda invitation Canva template. It’s a great way to add a playful touch to your invites and get your guests excited about the celebration.

Quick decorations

Photo by Pavel Danilyuk:

Don’t have time for elaborate decorations? No problem. Buy some balloons, streamers, and simple decorations from your local party supply store. These can be set up quickly and will create a festive atmosphere. Print out party banners like these at home or your local print shop, cut them, and decorate your party. These party decorations can also double as photo backdrops!

Order Food

Ordering food from a local restaurant or catering company saves time and energy. Many offer party platters and packages that can be delivered or picked up quickly. Or, consider having a pizza party or a taco bar, which are easy to set up and manage. Lots of grocery stores offer party food and dessert at affordable prices.
If you insist on making something, Sweet and Savory Morsels, have some lovely recipes!

DIY ACTIVITIES

If you don’t have time to plan elaborate games and activities, consider setting up a craft table or a coloring station. You can also put together a simple scavenger hunt or have a dance party with a playlist of your child’s favorite songs.

Kids these days are wild about Bingo games as well.

Have a plan B

If you’re planning an outdoor party, have a plan B in case of bad weather. Consider renting a tent or having an indoor space available as a backup. This will ensure that the party can continue without interruption.

last minute party hacks and tips for kids party
Photo by Ron Lach

Enlist help

Don’t be afraid to ask for help from friends or family. They can help with setup, cleanup, and managing the party. Plus, it’s always more fun to plan a party with others. If one of your friends bakes for a living, ask her to make a special cake for your kiddo.

Keep it short

When planning a last-minute party, keep it short and sweet. A two-hour party is plenty of time for kids to have fun and enjoy the festivities.

Enjoy the Party

Remember, the most important thing is to have fun and enjoy the party with your child. Don’t stress too much about the details; focus on making memories with your family and friends.

Photo by Pavel Danilyuk

Planning a last-minute party for your child can be overwhelming, but with these hacks, you’ll be able to create a fun and memorable event in no time. Remember to keep it simple, enlist help, and focus on having fun with your child and their friends. With creativity and a positive attitude, you can throw an amazing party your child will love and cherish forever. So, let’s get started and have a blast!