This post may contain affiliate links. I earn a small commission at NO EXTRA COST to you, should you purchase through my link..
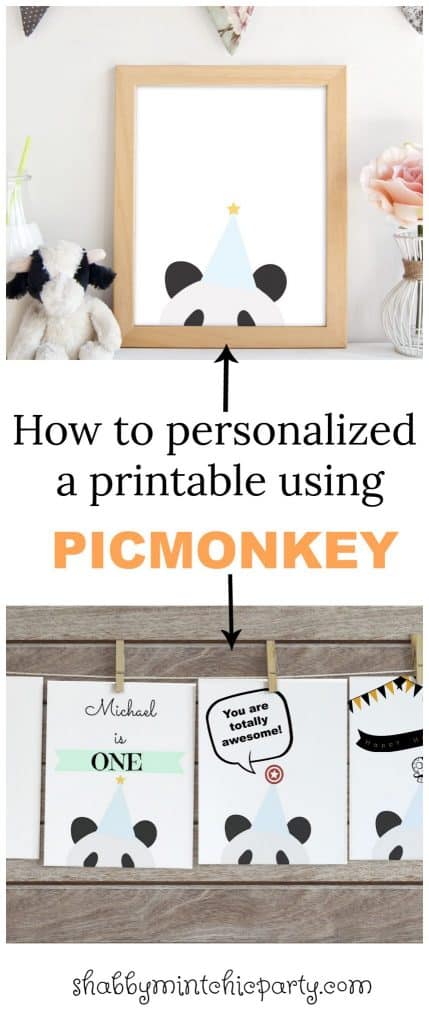
Personalize any printables using Picmonkey
Today, I’m going to show you how to personalize my printable (either the free one or the one purchased from my Etsy store) for your specific needs, like a birthday party.
Why am I showing you how to do this instead of just making you pay me extra to personalize it for you?! Because I want you to see the benefits of buying printables over physical print. I feel that you can get more bang for your buck with printables because there are so many things you can do with them.
Normally, designers have a disclaimer saying you can’t modify their printables. However, I feel that if you can modify it for personal use and save money in return, it’s fine and dandy with me. Just don’t modify my printable, claim it as your own, and then resell it. That is not cool in my book!
Let’s get started, shall we? I’m going to show you how to make the print below using Picmonkey (affiliate link. See disclosure policy), an online photo editing program. I truly love it and would highly recommend it if you are looking for something EASY and FREE!
Update 2/29/2018: Picmonkey is no longer free! However, they do offer a 7-day trial.

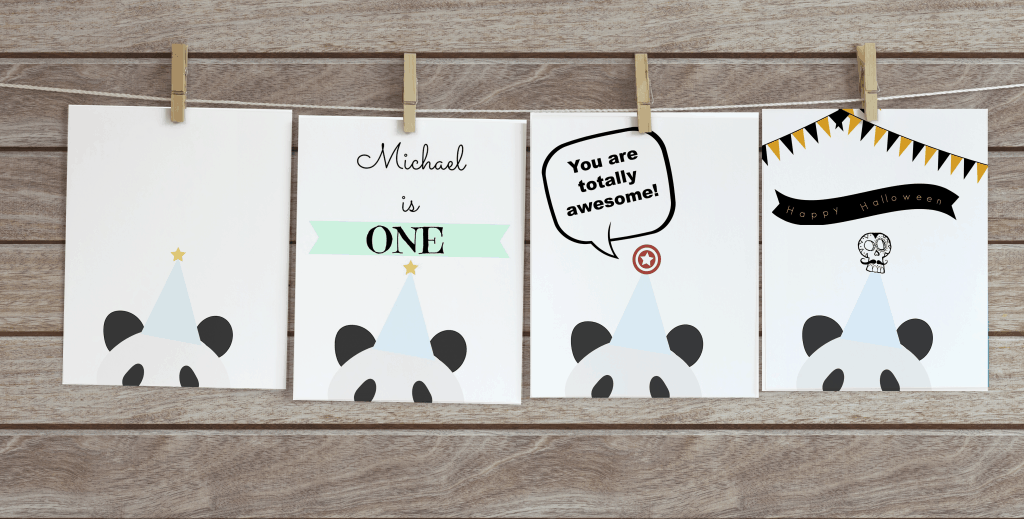
You can download the Panda printable below for free if you would like to use it to follow along the tutorial.
Instructions:
1. Go to the Picmonkey website. It will look something similar to below.
2. Click on Edit option at the top of the page.

3. Upload the printable from your computer onto Picmonkey. This program only accepts JPEG or PNG files. No PDFs, AI, PSD, etc. Your screen should look something like this with the options on the left sidebar. Click on Tt to get to the TEXT menu.

4. Now lets add some text. You can either use your own font by clicking on Yours or use Picmonkey’s font by clicking on Ours. Choose the font you would like your text to be. Then click on Add Text. Then type in what you want to say. 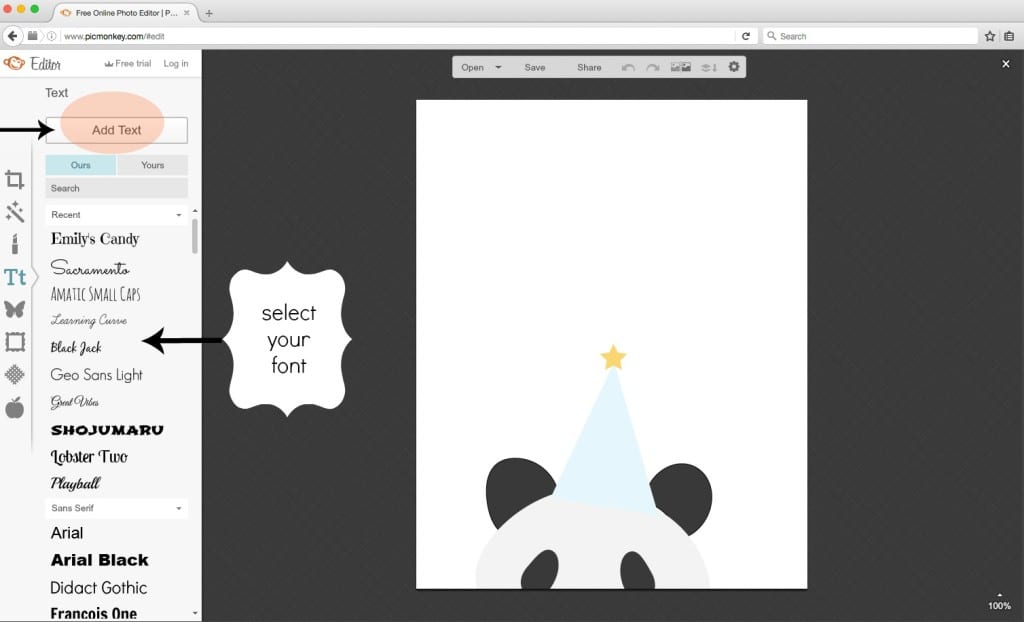
5. If you look below, I’ve decided to use the Sacramento font. There is a Text box with tons of options. You can change the color, the size of the font, blend the text. Play around with it. If you want to go back to the previous action, there is a undo button at the top.

6. I used the Emily’s Candy for the word ONE to make it stand out. Voila!!! Done!

7. But wait! Lets say you want to add a cute little banner behind ONE. Just click on the butterfly (highlighted in blue below). Click on Banners. Change the color and fading! Now, you got an even cuter printable!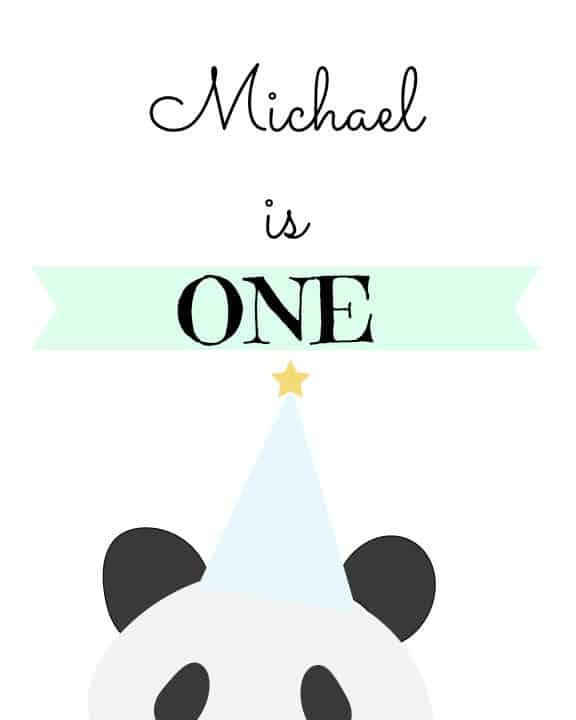
8. Lastly, save it to your computer! The Save option is at top of the page. Remember to save it a different name then your original file. Once you save it, you can’t re-open it in Picmonkey and then undo your mistakes! You have to start from scratch. What you can do is save several versions of your work along the way so that you can just upload from that point instead of starting over!


I am SO mad about Picmonkey not being free anymore (I pay for the full site anyways but am outraged they don’t do the basic for free to everyone anymore) But nonetheless, this is a great post! I love all your designs!