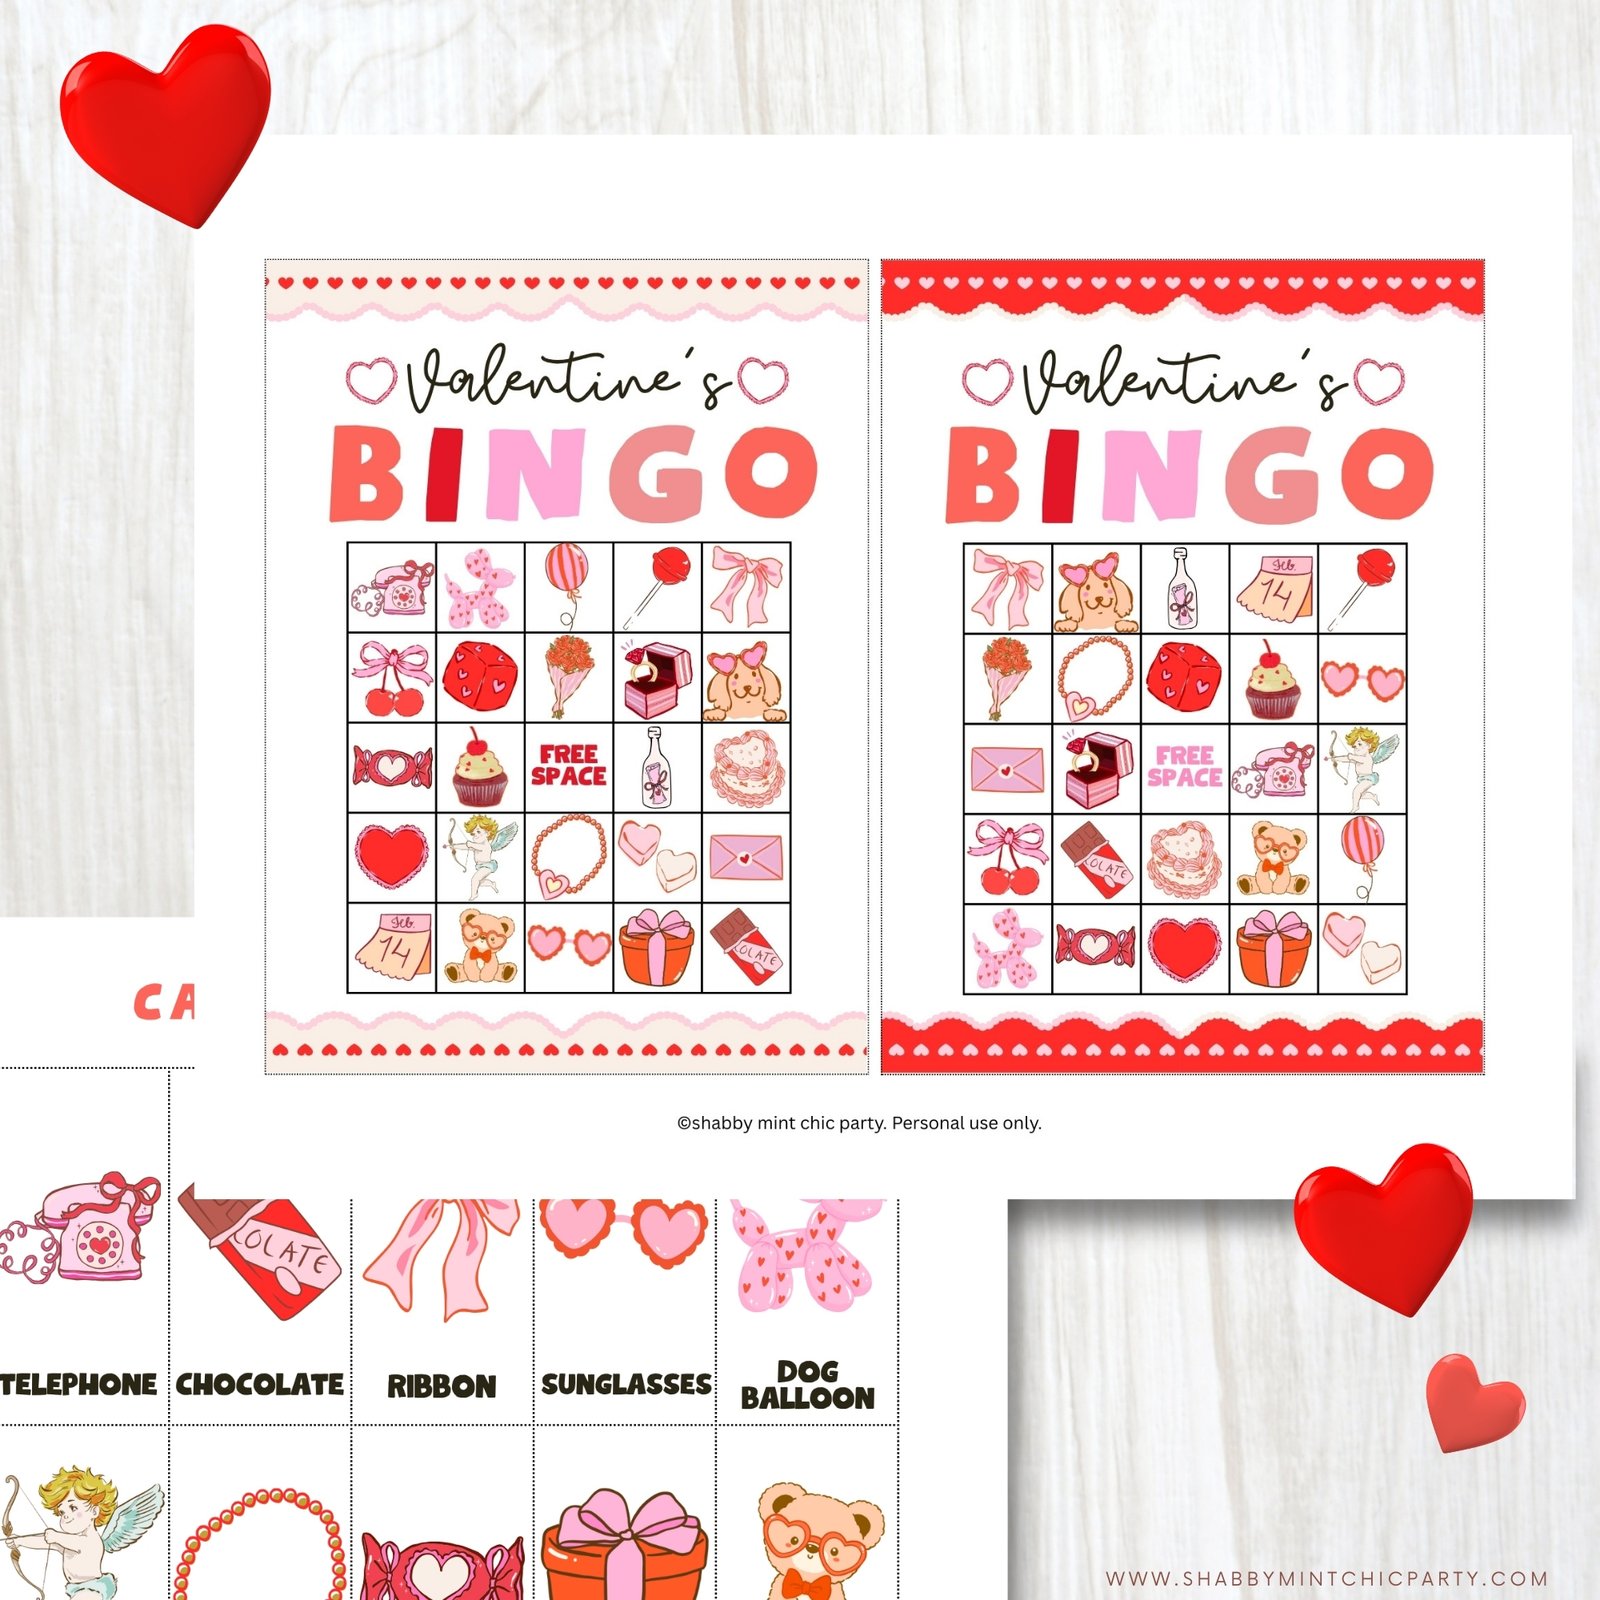
Instead of handing out candy to your trick-or-treaters this Halloween, give them something just as sweet – DIY Halloween Bookmark Party Favors! These bookmark favors are the perfect way to hand out treats this Halloween. Guests will love how spooky and cute these bookmarks are and will be sure to use them repeatedly.
– Scissors or paper trimmers– Make sure to use the proper scissors, like paper scissors, and not craft scissors, since the paper will dull the blades on craft scissors and make them less effective.
– Hole punch – This is optional, but it will make your life easier when making your bookmarks.
_Tassels -This is also optional, to add more flare to your bookmarks.
– Candy – If you plan on handing out candy with your bookmarks, double-check what you’re allowed to hand out.
How to Make DIY Halloween Bookmark Party Favors
– This is one of the easiest ways to make Halloween Bookmark Party Favors. All you need to do is download my free printable Halloween bookmarks. You’ll get 5 bookmarks.
– Once you have your design, you’ll need to print it out. If you’re printing on regular paper, make sure to double-check the ink settings on your printer and select the best paper setting for your printer. If you’re printing on card stock, the printer settings will be significantly different. You’ll want to select the thickest paper setting and make sure your printer can handle card stock.
– Once your design is printed, you can start cutting out your bookmarks. Use a paper trimmer to make the cut more accurate and smoother.
– Next, use a hole punch to make a hole in the top.
-Thread some strings or tassels to make it more festive.
Let’s take a look at the 5 bookmarks you’ll be downloading today.
Potion Printable Halloween Bookmark
This cute and festive bookmark features lots of potions to conjure up magic and helps you keep your place in your favorite book as well.
Skulls and Potions Halloween Bookmark
Whether you’re reading a scary story or a children’s book, this bookmark will bring a little spooky charm to any page. This bookmark pattern is a quick and easy way to make your favorite books even more special. You can use any yarn and any colors you like to make these bookmarks suit any mood or reading material. This cute and spooky skulls and potions bookmark is sure to bring a little Halloween magic to any book.
Love The Halloween patterns?
I used these Halloween patterns created by my very good friend, Jean Martin, from Kate and Jean Co, for these bookmarks. She is kindly giving you a 20% discount in her store. You’ll get the discount code in your download.
Bats, Mummies, and Pumpkins Halloween Bookmark
This spooky and fun bookmark is sure to put a little Halloween spirit in your books. The bookmark features several Halloween favorites, like mummies, bats, potions, and an eye.
I’m Batty About BooksHalloween Bookmark
This Bat bookmark is super cute, especially with the purple background. Comes with a not-so-spooky quote, “I’m Batty About Books”. For readers who love bats, this bookmark is a must-have accessory. Not only do bookmarks help you keep your place, but they are also great conversation starters. For example: “What do you think this Bat symbolizes?”
Jack-O-Lantern Halloween Bookmark
Fall is the time for pumpkins and Halloween. What a great way to celebrate both with this Jack-O-Lantern Bookmark. Kids will love using these bookmarks themselves or give away to friends.
Easy Peasy Halloween Bookmark Party Favors
Instead of just printing out these Halloween bookmarks, let’s make them more fun by adding some accessories. Here are 4 ways to do that.
Punch a hole at the top of the bookmark and add a string, yarn, or tassel.
Wrap the borders of the bookmark with washi tapes.
Protect your bookmarks by putting them into a photo booth sleeve and attaching a tassel. These sleeves come with a hold punched already at the top.
Use colorful clothespins to attach your bookmark to the page.
Halloween is the perfect time to get creative with DIY Party Favors. Besides mine, you can find tons of free Halloween bookmarks online. Here are some I found that you might like:
Whether you use my Halloween bookmarks or one of the many other free ones, These bookmark favors are the perfect way to hand out treats this Halloween.
Going back to school can be both exciting and nerve-wracking. One way to ease those first-day-of-school jitters is to take some cute back-to-school photos. And what’s cuter than a First Day of School sign with a dinosaur theme?
Create your own first-day-of-school signs using Canva, a free online design program. We’re creating a dinosaur theme but you can change out the dinosaur for whatever you want.
Watch the video below to learn how to create your own themed First Day of School signs in Canva.
No time to create the dinosaur first day of school signs from scratch?
You can get the Canva template to edit by signing up to my newsletter below. You’ll also get access to my Printable Resource Library which has 100+ printables.
Today I’m sharing with you a lovely red, white, and blue summer theme 4th of July wall art. This Independence Day wall art is perfect for your farmhouse style porch or 4th of July celebration decor.
This Floral Independence Day printable wall art is 8×10″.
Simply print this printable onto 8.5×11″ cardstock and display them on your wall!
Ways to Display your Printable
1. Put these wall art in a big frame with a white mat for 8×10 photo. This way you can just print the design onto 8.5×11 cardstock without having to trim it down to fit an 8×10 frame. I use a fine point dry-erase marker to write out my plans. Here are some beautiful frames that would be lovely for this printable. Some are 8×10 and one is 11×14.
2. Use magnetic poster hanger frames. I have these in several different sizes. It’s so easy to change signs with the magnetic poster hanger frame. Just put your sign between the two magnetic pieces of wood and hang it up on the wall. I like that they are really light weight and has no glass that my kids can break. Of course, the downside of these is that I can’t use them as erase board since there is no glass involves. Only the 4 pieces of wood strips that hold the printable and a string to hang. It’s very simple.
3. Print the printable onto magnetic paper so you can put on your refrigerator or any magnetic board.
4. Use washi tapes for a creative and fun way to display your printable calendar on the wall. Washi tapes come in many different sizes and designs. I am loving these right now.
5. Use a string and paper clips for a quick display of your printables. I actually have string lights that came with paper clips to hold photos.
6. The simplest way is to use regular tape to put your printables up on the wall.
If you’re looking for a festive way to add a touch of patriotism to your celebrations, I have just the thing for you: a stunning 4th of July printable featuring a red star with a quote from the “Star-Spangled Banner” and blue stripes background. Let’s get this lovely printable printed and put up on your door or framed and hung on your wall to celebrate our Independence Day.
The design of this 4th of July printable is carefully crafted to reflect the spirit of Independence Day. The red star symbolizes courage, valor, and the sacrifices made by those who fought for our freedom. The quote from the “Star-Spangled Banner,” our national anthem, serves as a reminder of the resilience and determination of our forefathers. The blue striped background represents the American flag, a powerful emblem of unity and patriotism.
Supplies and Instructions
To print and display this 4th of July printable, you will need the following materials:
1. Start by accessing the Star-Spangled Banner printable file. Click on the photo or the link above.
2. Save the file to your computer or device.
3. Open the file using a PDF reader or image editing software.
4. Adjust the print settings to ensure optimal quality. Select color printing and choose the appropriate paper size.
5. Load your printer with the selected paper or cardstock.
6. Click on the “Print” button and wait for the printing process to complete.
Ways to Display Your Printable
1. Put this wall art in a big frame with a white mat for an 8″×10″ photo. This way you can just print the design onto 8.5×11 cardstock without having to trim it down to fit an 8″×10″ frame.
Here are some beautiful frames that would be lovely for this printable. Some are 8″×10″ and one is 11″×14″.
2. Use magnetic poster hanger frames. I have these in several different sizes. It’s so easy to change signs with the magnetic poster hanger frame. Just put your sign between the two magnetic pieces of wood and hang it up on the wall. I like that they are really lightweight and have no glass that my kids can break. Of course, the downside of these is that I can’t use them as erase boards since there is no glass involved. Only the 4 pieces of wood strips that hold the printable and a string hang. It’s very simple.
3. Print the printable onto magnetic paper so you can put it on your refrigerator or any magnetic board.
4. Use washi tapes for a creative and fun way to display your printable calendar on the wall. Washi tapes come in many different sizes and designs. I am loving these right now.
5. Use a string and paper clips for a quick display of your printables. I actually have string lights that came with paper clips to hold photos.
6. The simplest way is to use regular tape to put your printables up on the wall.
This site contains affiliate links.
Shabby Mint Chic Party is a participant in the Amazon Services LLC Associates Program, an affiliate advertising program designed to provide a means for sites to earn advertising fees by advertising and linking to amazon.com
We use cookies to ensure that we give you the best experience on our website. If you continue to use this site we will assume that you are happy with it.OkNoRead more