If you're trying to save money for gifts and not spend money on the Christmas decorations, these Christmas DIY are a must try.

If you're trying to save money for gifts and not spend money on the Christmas decorations, these Christmas DIY are a must try.
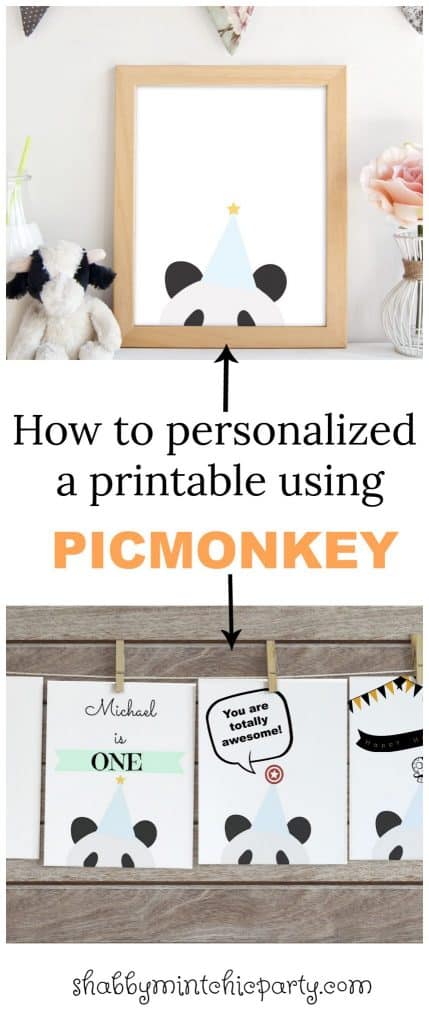
Personalize any printables using Picmonkey Today, I’m going to show you how to personalize my printable (either the free one or the one purchased from my Etsy store) for your specific needs, like a birthday party. Why am I showing you how to do this instead of just making you pay me extra to personalize it for you?! Because I…